Makeup is an art. There is no hard and fast rule you need to follow to apply your makeup, as there is so much variety in the market. The next most important thing is Makeup is not only for a particular gender; it is a matter of choice. Men, women, Trans, or anyone on this planet can apply makeup as long as it is their choice.
You feel more confident when you have your makeup on. We provide a step-by-step guide to applying makeup like a professional. You can skip any step, such as cutting foundation and applying bb cream or a tinted foundation, missing eyeliner and applying mascara.
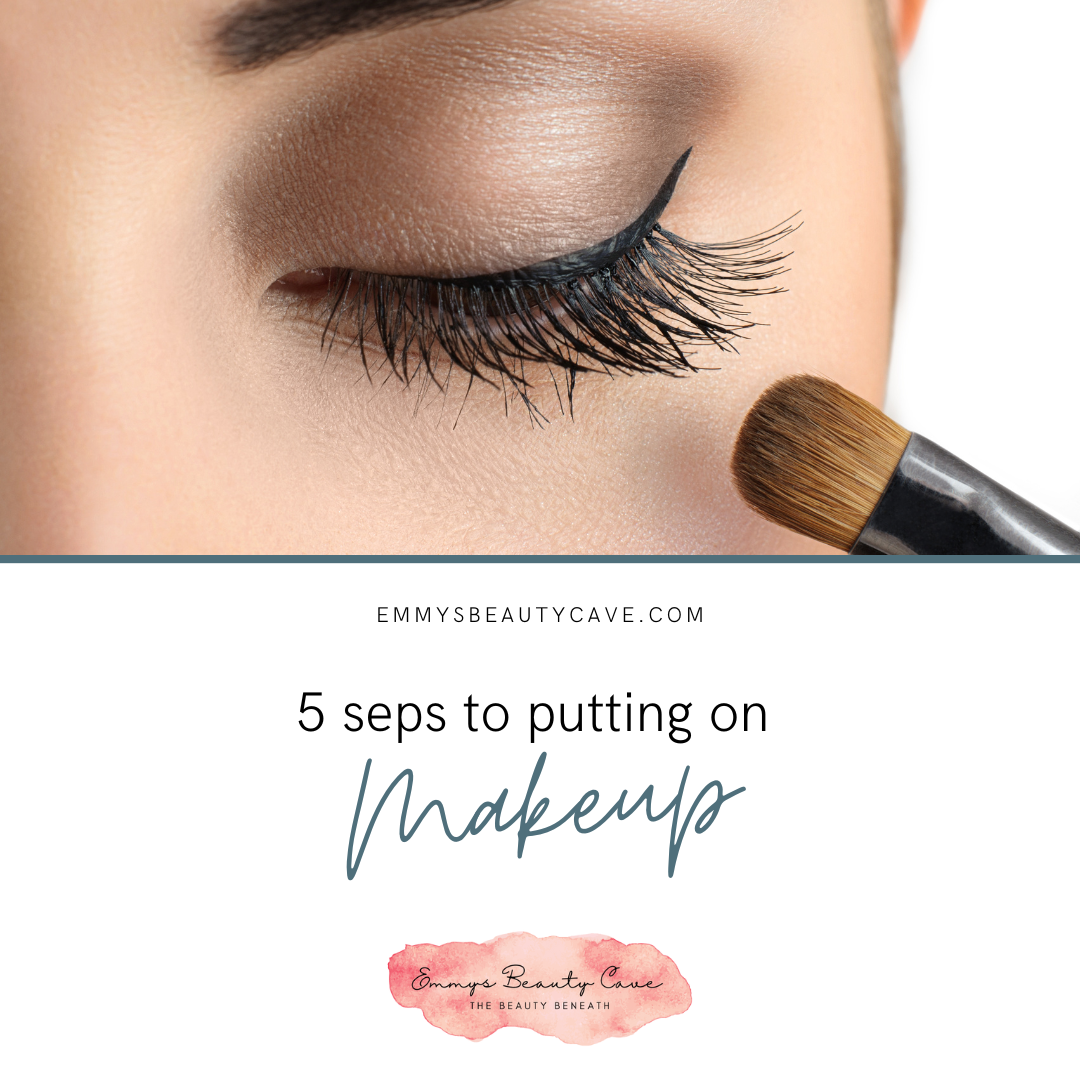
Here we are providing you with a guide that covers all makeup basics and the query “how to do makeup”.
Part A: Prep Your Skin
Before applying makeup, you need to prep your skin well. Prepping helps the makeup glide on smoothly and stay for a more extended period. Also, makeup doesn’t budge on well-prepped skin. No matter how expensive makeup you apply, your makeup won’t look nice. Preparing is a game of simple and basic steps; pick the right products for your skin.
Step 1: Cleanse Your Face
It is understood that you can’t apply makeup if your face is not properly clean. There are various types of cleansers available on the market, such as foam cleansers, Gel cleansers, cream cleansers, oil cleansers, clay cleansers, Micellar cleansers, powder cleansers, bar cleansers, and cleansing cloths/sponges.
Cleansing removes the grime or any residue from your face and leaves fresh, clean, and smooth skin. Take any facial cleanser of your choice and gently massage your wet face. Then, rinse your skin with water and pat dry.
Step 2: Scrub Your Face
Exfoliation is the next step for prepping your skin for makeup. Pick a mild scrub with fine granules, as rough skins can affect the sensitivity adversely. Apply a little quantity on your wet face and massage it in a circular motion. Rinse with water and pat dry. Note that stay moderate with scrubbing. Scrubbing your face thrice a week is enough.
Step 3: Moisturize Well
After washing and exfoliating, you need to apply an excellent moisturiser. The moisturiser should suit your skin well. A moisturiser that contains hyaluronic acid and Aloe Vera is best for longer-lasting hydration.
Part B: Face Makeup Application
Ace The Base! This is most important for achieving a flawless makeup look. Your eye and lip makeup can vary, but the base should be done with great care and patience. People often think, “what comes after what?” So here we are, uncovering the proper sequence of applying different products to perfection.
Follow the step-by-step guide for very impeccable face makeup.
Step 1: Primer
Using a primer is one of the best things to help you even out your skin and blur the pores. It will create a smooth canvas by diminishing the fine lines. It also ensures that your makeup stays for longer and your skin glows throughout the time you are wearing makeup. If you have dry skin, go with a glowing primer, and if you have oily skin, select the matte finish. Apply the primer on targeted areas, mainly around the nose and T zone.
Step 2: Color Correction
Colour correction is one such technique to conceal zits, spots and acne. This became the primary trend when social media influencers started bragging about it.
It is a science that opposite colours cancel each other out. The green concealer cancels out the red zits, the purple conceal minimises yellow spots, and the orange conceals the blue or dark grey circles. You need to pick the coloured concealer that suits your skin concerns.
Step 3: Use A Concealer
After the colour correction, you need to pick the concealer one shade lighter than your skin. Use a flesh-toned concealer on the top of the colour corrector and wherever the concealing is required. A light tint of concealer is necessary to brighten up the areas of your face.
Step 4: Foundation
A little foundation is required to make a perfect base. The market is full of different kinds and tones of foundations. You need to pick among the wide range of foundations, as there is a matte foundation for a shine-free finish and a silk foundation for a dewy finish. Therefore, you must select powder foundation, stick foundation, and mousse foundation. Apply foundation with a brush or fingers and dab it into the skin with a beauty blender.
Step 5: Bronzer, Blush, and Highlighter
To get the rosy glow and chiselled look, you must add blush and bronzer, respectively. And a stroke highlighter will give you the shine required to look radiant and glossy all the time. Highlighters and bronzers are applied on the face where the sunbeams hit. And as far as blush goes, it must be used on the apple of the cheeks while smiling.
Remember to set your base with makeup spray before moving ahead.
Part C: Apply Eye Makeup
After applying the Face makeup, you need to move your eyes. You need to follow an order for spreading the eye makeup. Here is the step-by-step guide for eye makeup.
Step 1: Fill Eyebrows
The days of thin eyebrows are gone. So, shape your browser and fill it in. Use an eyebrow pencil or brow-powder to draw a sharp arch.
Step 2: Apply Eyeshadow
The most experimental element of makeup is eye shadow. Depending on your choice, you can pick a subtle look or go over-dramatic. Also, you can apply eyeshadow that suits well with your outfit; Smokey eyes are another notable trend of the time. Shimmery eyeshadows look good in the evening, and night-time, whereas light and matte eye- the shadow is best to wear for a simple and office look.
To apply eye shadows, follow the steps: dust the colour on your eyelid>> apply a slightly darker shade on the crease>> and pick a light and shimmery eye shadow in the centre of the lid.
Step 3: Apply Eyeliner
This one is optional, as you can go with mascara. But applying eyeliner will make your eyes look more dramatic and carved. You can try tight-lining with an eye pencil and use the same on your waterline. You can even try the liquid liner with a brush. Draw a line which you find the most appealing.
Step 4: Mascara
The last step of eye makeup is applying mascara. Mascara is essential if you want to see your eyes popped-up and stand out. There is a hack. If your eyelashes are thin, dust some baby powder before you apply Mascara. You can even try eyelash primer for long-lasting mascara.
Part D: Apply Lip Makeup
You are almost done! Now, it’s time to decorate your lips. First, scrub your lips or apply Vaseline jelly or oil and wipe with a tissue. Then, use a colourless lip balm. If you aren’t a lipstick person, you can apply a coloured lip balm or lip gloss and leave it like this. But if you want to show your lips some lips, try this lip makeup routine in a step-by-step manner.
Step 1: Lip Liner
First, you need to line your lips using a lip pencil. This will stop bleeding or fading out of your lip colour. Pick a lip pencil that matches the shade of lipstick or a slightly darker shade. By lining the lips, you will be adding some dimension and volume to your lips. This will also create a smooth base for your lip colour.
Step 2: Lipstick
Lipstick is the last step of lip makeup. Then, swipe lipstick on your lips. Pick any shade of your choice. From matte, creamy or glossy, lipstick is available in every texture; you need to pick that you are comfortable with. In the end, you can add some gloss on the top to make your pout look stunning.
Part E: Bonus Tip: Setting and Removing Makeup
Setting up Makeup
If you set your makeup well, it won’t move and stay in place. First, set up your base; after applying the face makeup, spritz some setting spray on your face. Make sure you close your eyes and not spraying too close to your eyes. And you can repeat the same after your makeup is completed. Keep the bottle 8-10 inches away from the face while spraying.
Removing Makeup
You did not sleep with your makeup on. Therefore, make sure you remove your makeup, wash your face, and do your night-time skincare routine before hopping into bed.
If you are too lazy to wash your face, use Micellar water that needs no rinse or makeup, removing wipes that aren’t too harsh on your skin but provide a clean and smooth surface afterwards.