
Time for a new makeup post! This is the kind of thing I do get asked for for bridal makeup on a reasonably regular basis but for your average woman who wears a pretty limited amount of makeup day to day, this is maybe better suited (as lovely as it is) to a going out look – whilst it’s not super heavy, it’s not quite whimsical natural bride- it’s a pretty glam winter party/evening look. My model Jess has the sort of face which literally suits any look (hence she makes a perfect makeup model) – and she has beautiful features (big eyes, perfect skin) with a golden skin tone (more yellow undertones than pink) so these peach and gold tones really work well on her. Gold and warmer copper tones will really make blue eyes pop, and you’ll find it super easy to find these colours whatever your budget.
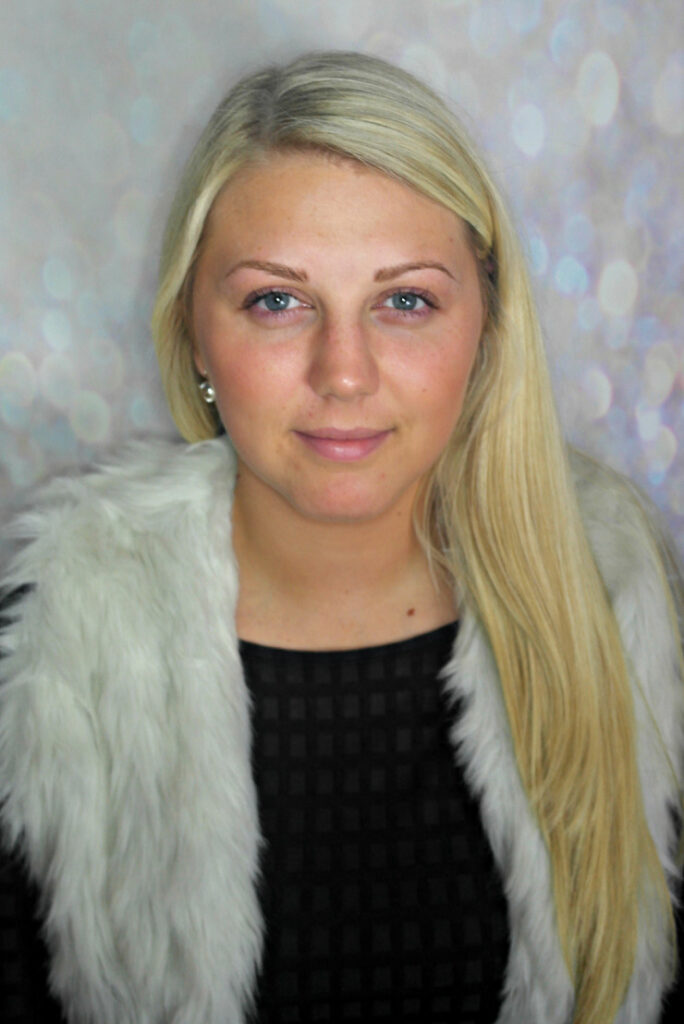
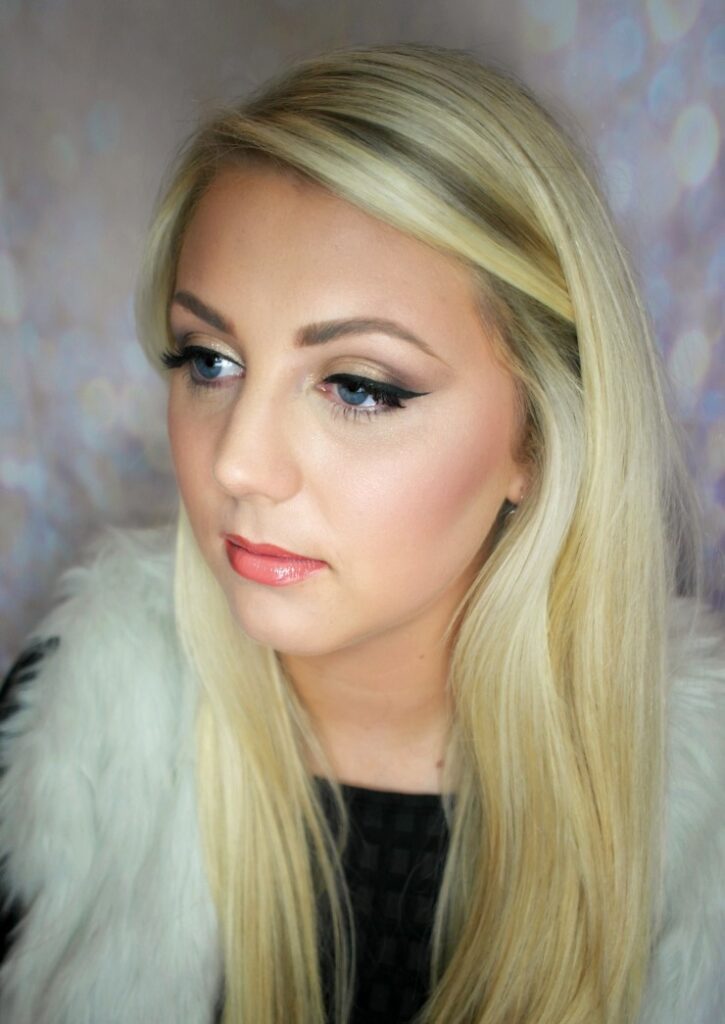
Jess Before
Products used ( face) –
Base – Charlotte Tilbury Magic foundation, applied with a Real Techniques Expert Face Brush
Concealer – Estee Lauder Double Wear Concealer
Contour – lllamasqua Sculpting Pallette
Blusher – Bare Minerals Papaya (this was limited edition – but Laughter is a great coral alternative)
Highlighter – The Balm Mary Lou Manizer
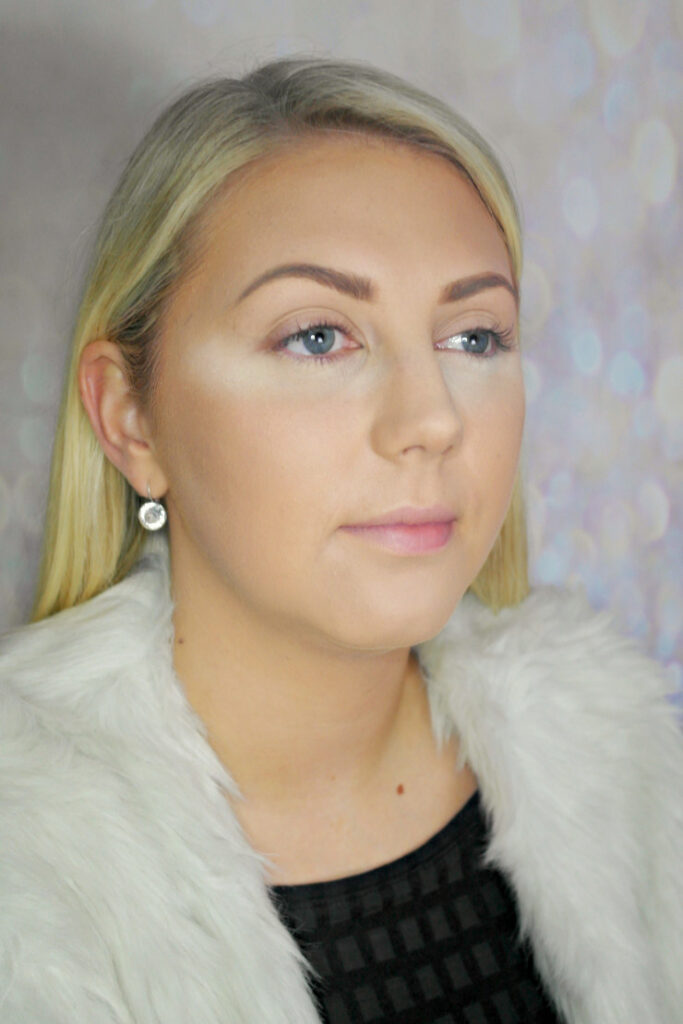
With great skin you have the luxury of wearing sheer or full coverage – both look amazing in different ways. This is a full coverage look, which I achieved by building up layers of a medium – full buildable foundation (CT). The key with full coverage looks is not to use too much product, and to really push what you do use into the skin, so rather than it all sitting on top of the skin, it really fuses, increasing wear and giving an airbrushed finish. I applied a generous amount of the highlighting powder from the Illamasqua palette around the centre of the face with a small powder brush, left for a while to “bake” (a Drag technique which gives a super highlighted effect) and then dusted away the excess. Using either a face brush or an angled brush dust small amounts of bronzer or contour powder in a 3 shape around the bone structure – along the temples, into the hollows of the cheeks and under the jawline to help slim the face (ie.contouring). These brushes are both great as they will help you to find the angles of your face. If bronzer or contour powder scares you, pop it onto your brush and dust away the excess on to the back of your hand before you put brush to face – the less product on the brush the more control you have, and the more you’ll avoid scary muddy stripes on the skin! Building small layers and blending is key.
The Eyes
Products Used ~
Bare Minerals BB Primer Candlelit Peach
The Balm Nude ‘Tude Pallette
Mac Reflects Pearl Glitter Pigment
Bare Minerals Black Gold Eyeshadow & Illamasqua Sealing Gel (to line)
Tanya Burr Beauty Lashes in Pretty Lady
Anastasia Beverly Hills Blonde Dipbrow
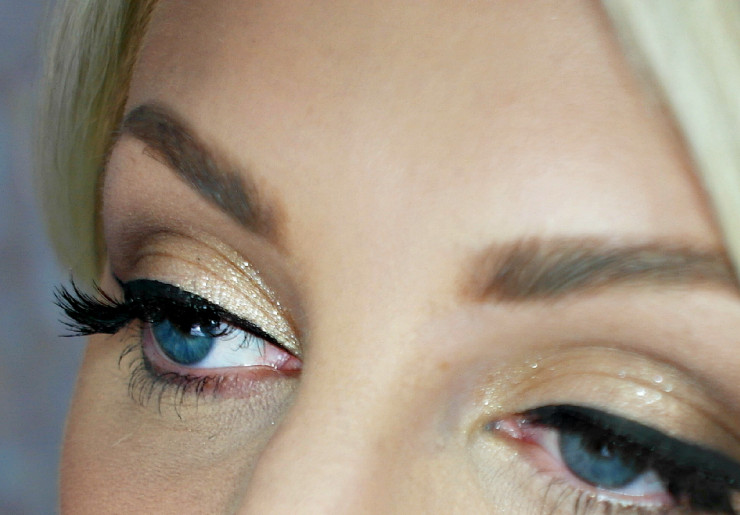
I actually really like using the Illamasqua Sealing Gel for liner. You mix it with any loose pigment eye shadow and it creates a waterproof liner – I find it easy to use as it never drags and you can get a real sharp flick with it. You can also use any shadow colour as a liner. To best apply shimmer or glitter pigment, complete eyeshadow and then press over the top before liner and mascara – if you put it on before you’ll end up blending it away and after you may struggle not to get some dropping down onto the lashes. Use a short squat brush with short stubby bristles to pick up the glitter, tap off the excess and then press on to the lids. For glitter pigment Illamasqua, Mac and Barry M all create gorgeous colours for different effects!
The Lips
Products used –
Mac Pure Zen Lipstick
Mac Spice Lipliner
Illamasqua Maiden Lipgloss
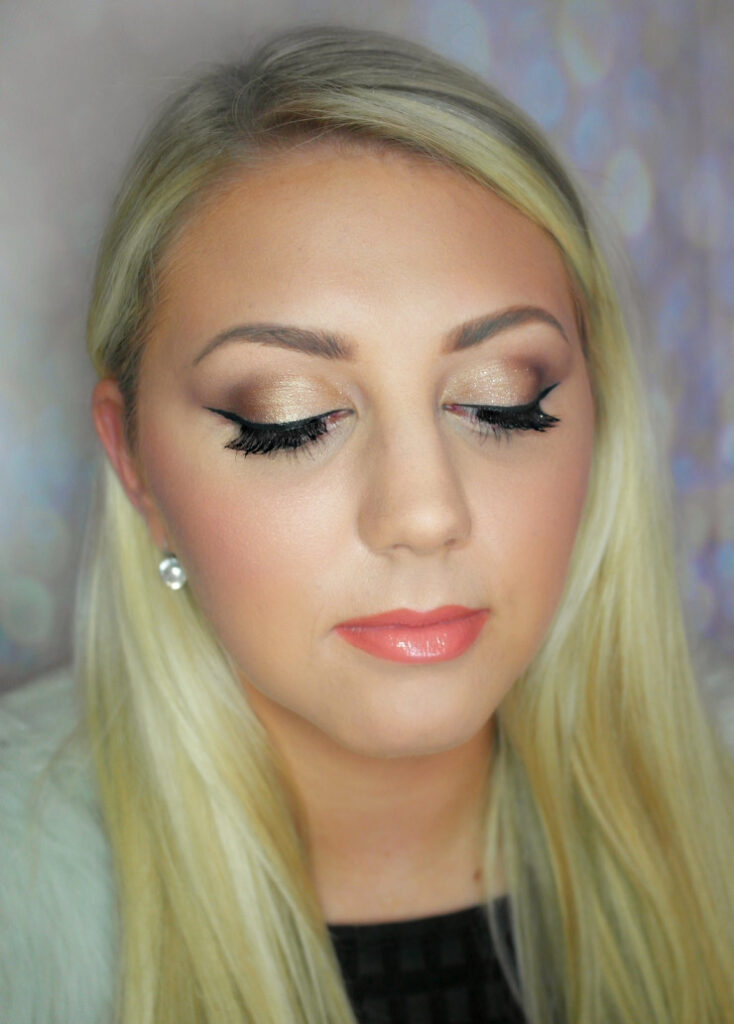
I’m addicted to Pure Zen – it’s a little too peachy for my mega fair complexion but I adore it on anyone with a little more colour to their skin! It’s more than a nude, but not a strong colour, and it’s a great bridal colour for anyone who likes this kind of tone. I lined after lipstick – a great tip for making liner more subtle. A touch of gloss in the centre to add fullness to the lips is all that’s needed to balance out a strong eye.
Jess After
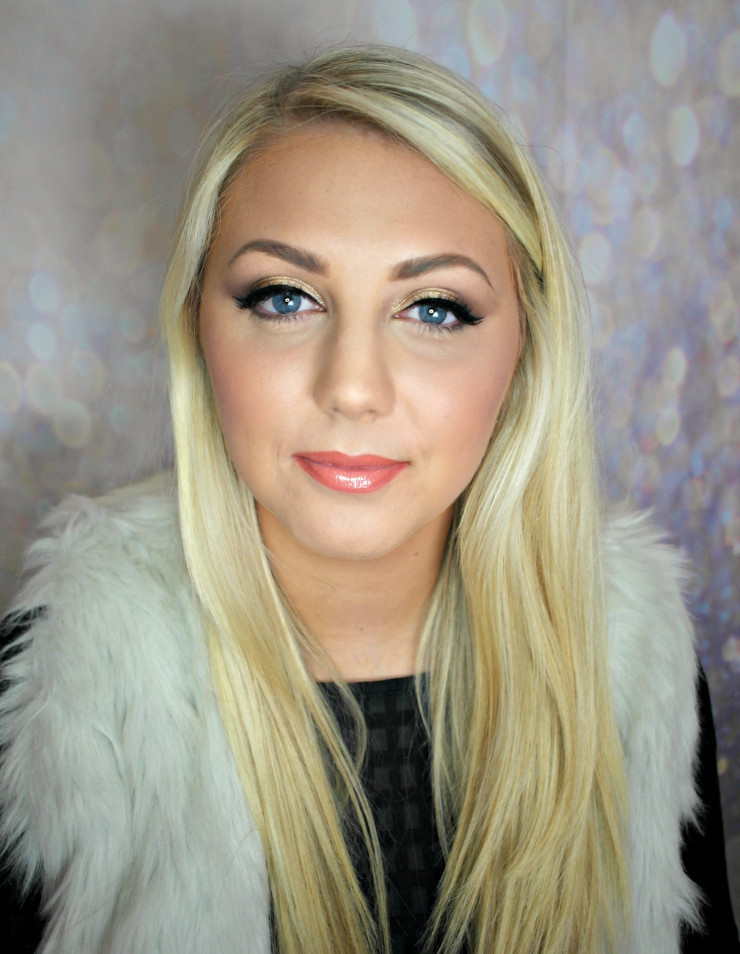
I hope you guys like this look! Thanks to Jess for lending me her gorgeous face. Do let me know what looks you’d like to see, and if you’d like to see more makeup ideas from me head here.
Emily x